
This is delicious stuffed in any kind of pasta. Recently I've started making my own buckwheat ravioli (pictures follow). I've been using the recipe from Nonna's Italian Kitchen for the pasta, which I won't repost because I haven't modified it, so it's not really mine.
The ravioli filling, however, has been developed by simple trial and error. All of these measurements are approximate. I am a big fan of adding things to taste!
1 459 g block medium tofu, mashed
1/2 cup ground blanched almonds
1/4 cup ground walnuts
1/4 cup nutritional yeast
1/4 cup dry white wine
1 tbsp tahini
1 tbsp shiro (aka white/yellow) miso
2 tsp dried parsley
3 tsp each dried basil and thyme
1 1/2 tsp onion powder
freshly ground black pepper
canola oil for sauteing
10 brown mushrooms, finely chopped (I use food processor)
4 cloves of garlic, finely chopped (I use food processor)
bread crumbs, as needed
Saute garlic and mushrooms on medium heat in oil until most of water is gone from mushrooms. Mix mushrooms and garlic together with all other ingredients except bread crumbs. Mix in bread crumbs as needed to get desired consistency. Especially in ravioli, it helps to have thicker filling that will form a ball that stays together while you work with the pasta, rather than falling all over the place and making the fresh pasta soggy. The filling used in the photos below doesn't actually correspond with the
recipe here. It is a chard, mushroom and walnut filling, which was ok,
but not as good as the mushroom/yummy tofu stuff. It also was a bit wet and hard to fit in the ravioli without getting bits of it everywhere/in the dough, which can result in holes in your ravioli. Perhaps would have helped to add bread crumbs to the chard filling, and also to food process the chard to almost a paste.
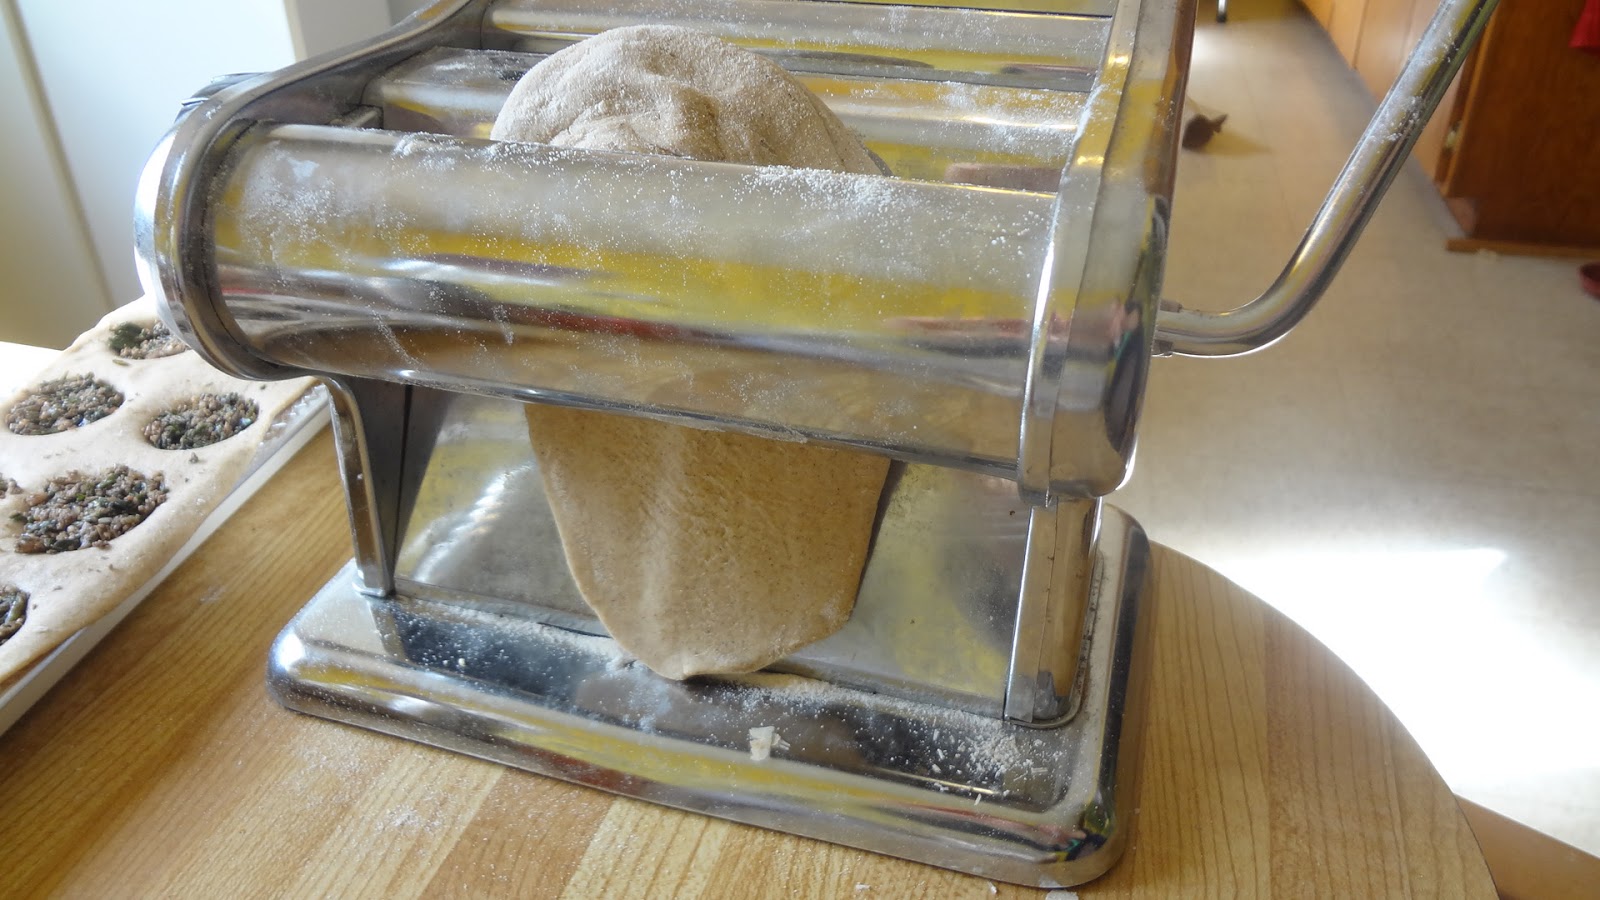
Here are pictures of the ravioli making process. I found this a bit tricky. I used an old hand-crank pasta machine. In Nonna's Italian Kitchen, Grogan says to divide the dough into 8ths to roll out, but I find that too little for my ravioli mould. 6ths was more like it. Roll your portion of dough into a ball, flatten ball slightly, then flour it and run through the machine (setting 3 on my machine the first time through) then fold like a letter and run through again (setting 7 on my machine - I did mine a bit thicker than Grogan recommended to help prevent tearing. Plus, I love me some dough). The mould I used came with a small rolling pin that presumably you're supposed to use to seal the ravioli. I found it just stuck to the dough, so doing by hand worked better. I also greased and floured the mold for easy removal of the completed sheet of ravioli. The easiest way to remove it was to gently work my fingers between the dough and the mould, with the mould inverted so the sheet of ravioli landed on the table as it came loose. My ravioli weren't the most attractive. I think perhaps you're supposed to use a serrated/zigzag cutter to cut them apart (which would match up to the impressions the mold makes on the ravioli sheet) but since I only have a regular pizza cutter, that's what I used. Still tastes the same: delicious!
 |
| Run a flattened ball of dough through the machine... |
 | |||
| Fold it like a letter and run it through again to make a sheet... |
 | ||
| Stretch sheet gently over the ravioli mold. Put a tsp of filling into each indentation... |
 |
| Roll out a second ball of dough, fold, and repeat. Lay over top of the filled bottom sheet of pasta... |
 |
| Pinch around each ravioli, by feeling for where the edges of the mold are. Cut off any extra dough... |
 |
| Gently remove the sheet of ravioli... |
 |
| Ready to cook or freeze. Boil for about 3 minutes... |
 |
| Topped with home-made tomato sauce, vegan parmesan and olives. Yum! |


